


Having tested many AI tools for video creation, I must admit that Kling AI is unique. Considering the various aspects of the video editing platforms I have used, Kling AI provided me with a balance between the latest technology and a user-friendly interface. Kling AI will give you all the tools to create pro videos in no time, whether you are a newbie or a pro creator.
Here’s what I’ve learned by personally navigating Kling AI, followed by tips and insights that could lead you to creating some really awesome videos. This step-by-step guide will help you get started with Kling AI right through to using the advanced features and will help you get educated enough to be confident as you fully use Kling AI.
How to Access
You first access the Kling AI platform. Here’s how I began:
- Kling AI Site Visit: I launched my browser and navigated to the Kling AI site. Simple layout, easy to navigate.
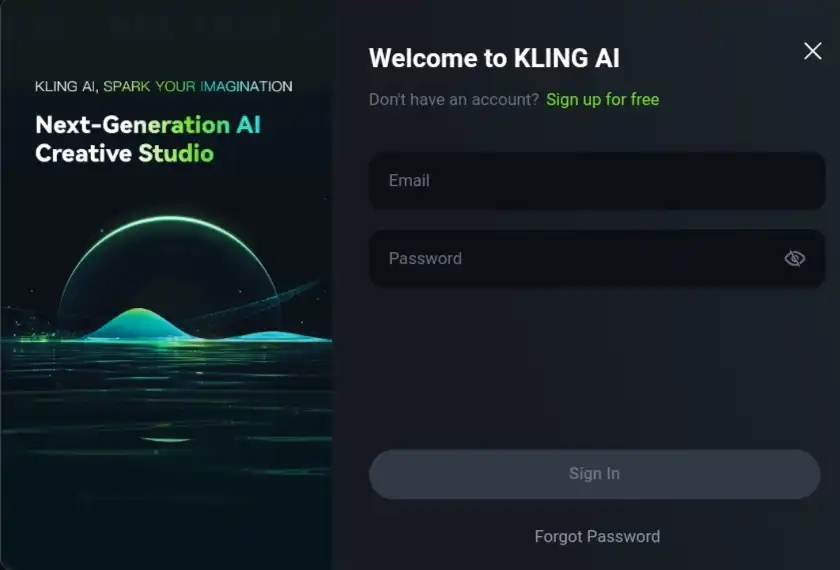
- Create an Account: If you haven’t already, tap the “Sign Up” button. Setting up an account was quick: I filled in my name, email, and made a password.
- Pricing: After signing up, I was given different pricing options. There’s a trial plan that allows access to most features, so I started with that to explore the platform without having to sign up for a paid plan immediately.
As soon as you sign up and log in, you can start using Kling AI.
Creating an Account
I was looking for an easy account creation process that wouldn’t take any time when I created my account. Here’s what you’ll do:
- Click the Sign-Up Button: The “Sign Up” button is easy to spot and find on the homepage.
- Fill in Your Details: I inserted my basic information like name and email. It was a straightforward and speedy process.
- Email Verification: So can Kling AI. I clicked it to validate my account and register.
- Choose a Certain Plan: They do have a free trial, so I confirmed that out to try the features. But if you want additional features, you can check other subscription plans.
Navigating the Kling AI Interface
When I first logged into Kling AI, the interface was very user-friendly, which I was amazed by. But here’s what I discovered:
- Dashboard: The home dashboard provides you with a comprehensive view of your active projects. At this stage, you either need to start a new project and move on with existing ones.
- Menu Bar: It is at the top where you will find options like your profile, settings, and support.
- Project Area: The place where all your stuff is stored, which makes it easy to sort out and come back to your videos.
- On the left side of the screen was the editing tools. From adding text, pictures, transitions, to animations, everything is labeled crystal clear.
This was my first time using Kling AI, and the layout felt intuitive, and not too long of a learning process.
How to Generate Videos
Where the fun truly begins though is when you begin to create your video. This is how I created my first video with Kling AI:
- Select a Template: My approach began with selecting a template. There are a lot of alternatives for various styles of videos, which include tutorials, promotions, in addition to many others. So I decided to use a promotional template to make the video look professional.
- Upload Your Assets: I uploaded the images and text I wanted in my video. Kling AI enables you to upload videos, photos, and even voiceovers.
- Customizing Your Video: This was the most fun part for me. The text, colors, and animations I changed to give my video style.
- Generate the Video: When I was done with my creation, I clicked the “Generate” button. The video was processed by AI and voila!
- Download or Share: Once the video was prepared, I had the option of downloading it immediately or sharing it directly on social media. It was that easy!
Writing Effective Prompts for Better Results
The more time I spent with Kling AI, the easier it became to understand that writing clear and specific prompts to get high-quality videos was the key. Here’s what I’ve discovered about writing good prompts:
- Be Specific: More detail leads to better results. Instead of just saying “Create a video,” for example, try this prompt: “Create a 30-second promotional video for a new product with upbeat music and smooth transitions.”
- Give Simple Instructions: Kling AI shines when you provide it with direct prompts. For the most part, though, I kept my language simple, avoiding technical jargon when I could.
- Give Context: If you have a specific style or aesthetic in mind, include it when prompting! If you’re looking for something with a more professional feel, say that.
This is how, within the guidelines, I was able to generate videos that were coherent with my mental conception of how they should look.
Explore the Features
One of the reasons I love Kling AI is the powerful features that take video generation to the next level. Some of the exemplary features include:
- Animations: Kling AI has multiple animations for you to choose from. I selected a few to enhance my video, and it couldn’t have looked better.
- Voiceovers: I already have a voiceover track. Kling AI allows me to upload it and sync it with my video to create a sense of togetherness.
- Scene transitions: It transitions my video’s scenes to make it flow smoothly and naturally. This added a level of professionalism to my videos beyond my expectations.
- Royalty-free music: I have access to multiple background sounds to select the one that best suits my video and audience.
Some of these features significantly improved the quality of the videos I could generate using Kling AI.
Fine-Tune Your Videos
I realized that generating my video was not enough. I had to make sure everything was perfect. The following editing tools saved my time:
- Trim and cut: Remove some clips to keep the video short and precise.
- Timing adjustments: Adjust the timing of each clip to ensure a smooth flow.
- Color grading: Adjust the brightness and contrasts to make my video brilliant.
- Sound adjustment: Adjust volume levels to enable me to listen to the background sound and the voiceover.
These are some of the editing tools I used to enhance my videos to make them more appealing to viewers.
Become a Kling AI Pro
After using Kling AI for a while, I started to understand the professionalism behind video generation. The extras included:
- Keyboard shortcuts: The commands helped me save time while generating multiple videos.
- Layering: The layers enabled me to generate complex videos with more organization.
- Third-party integration: Integrate Kling AI with Adobe Premiere Pro, opening up more video generation opportunities.
The pros gained may help me generate more fantastic videos for my goals.
Troubleshooting
I encountered some glitches with Kling AI, but the troubleshooting process was relatively simple. Here’s what I did:
- Cleared My Browser Cache: I had cleared my cache when the platform slowed down, and it helped again with that.
- Use the Latest Version: I also checked that I was using the latest version of Kling AI to get new features.
- Refining the Prompts: When the video was not just right, I went back to my prompt and tweaked the instructions.
Kling AI also has great customer support, so if you have any issues, just reach out.
Wrapping Up
In general, I have been very impressed with my experience at Kling AI. It is a very simple platform to use, the video creation process is fast, and the videos you can create are of high quality. From making a quick video for social media to a full-fledged promotional video, Kling AI offers the tools you need to succeed.
This route will get you started with Kling AI and to make great videos. Keep experimenting, keep learning — there’s always more to learn.
Frequently Asked Questions
Q1. What is Kling AI?
Kling AI is an artificial intelligence-powered video creation solution.
Q2. How much does Kling AI cost?
Kling AI has multiple pricing plans, with a free trial option to try it out before going for a paid plan.
Q3. Is it possible with Kling AI to make realistic videos?
Yes, Kling AI is a state-of-the-art technology that can create realistic animations, characters, scenes, and videos that make it a powerful tool.
Q4. Kling AI | Can we use Kling AI in the English language?
Yes, Kling AI works for English and other languages too.
Q5. What if I need assistance with Kling AI?
Kling AI comes with a wide range of support areas including tutorials, FAQs, and live chat.


